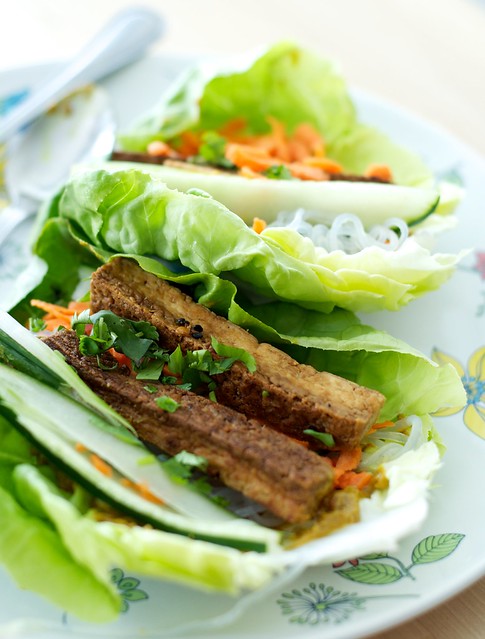
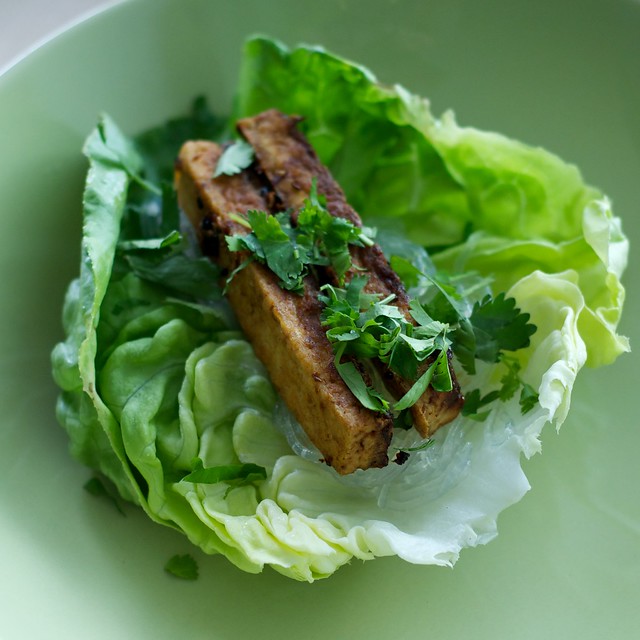
Bibb lettuce leaves create a crunchy and fresh "wrapper" for tofu lettuce wraps. Lettuce leaves are filled with a caramelized crunchy ginger-tofu, and filled with mung bean noodles, grated carrots, and strips of crunchy cucumber and spring onions. Serve these with peanut sauce, or your favorite dipping sauce.
This is a lot of work for dinner, or an appetizer, but the beauty of this dish is in each and every single component. They are fun to put together, and you'll feel healthier for doing so. I promise. If you have leftovers, you can assemble vermicelli noodle bowls. Win-Win!
From my New Roots box, I used the bibb lettuce, carrots (earlier batch), cucumbers, and spring onions. I am loving the box, and I use it all the time. This week, I began measuring out the servings to compare cost per serving. The bibb lettuce head would easily serve 8. According to MyPlate serving sizes, 1 cup of raw veggies = 1 serving; and 1/2 cup cooked = 1 serving. I prepped the lettuce ahead of time, and it stored for longer than a week in the fridge.
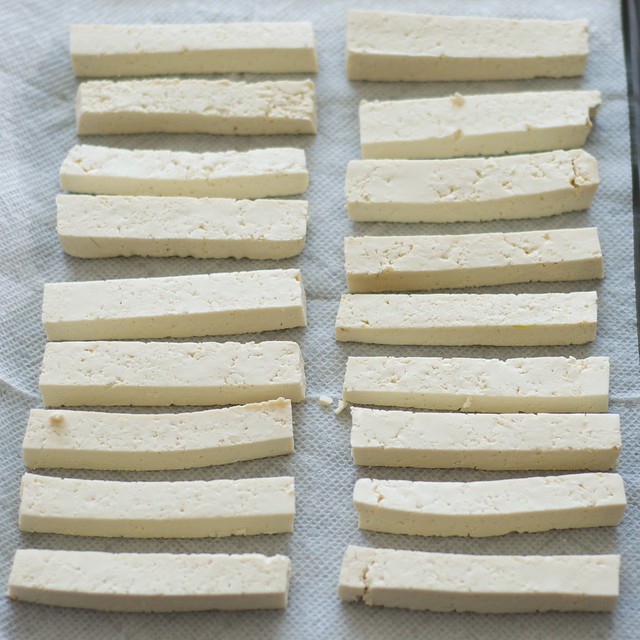
extra-firm tofu cut into strips.
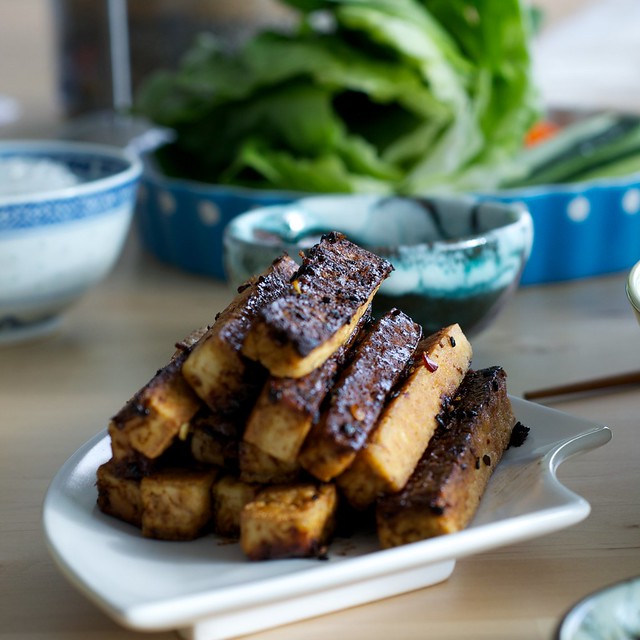
Crunchy ginger tofu
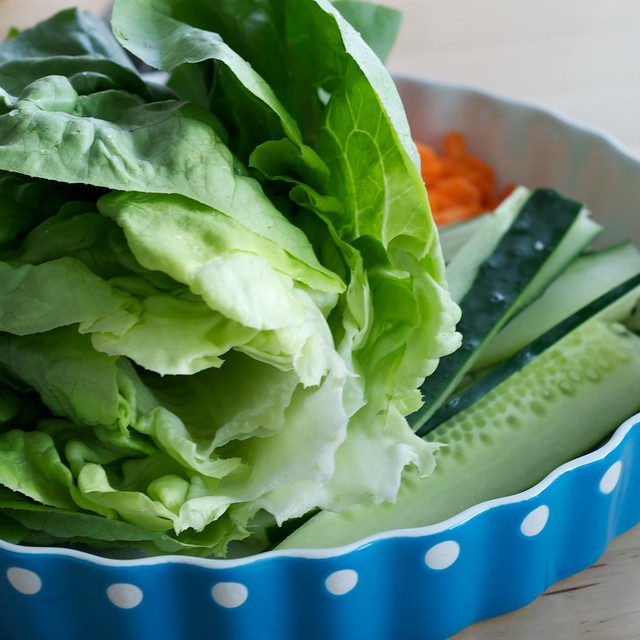
Lettuce wrap fixins
The Most Awesome Tofu Lettuce Wraps
Yield: 4 servings, 2-3 wraps per person
For the tofu
1 lb extra-firm tofu (1 lb is enough for 2-3 people; use 2 lb for 3-4 hungry people)
salt for tofu
1-2 tbsp peanut oil or enough to leave a slick shimmer in a wide skillet
For the wrappers
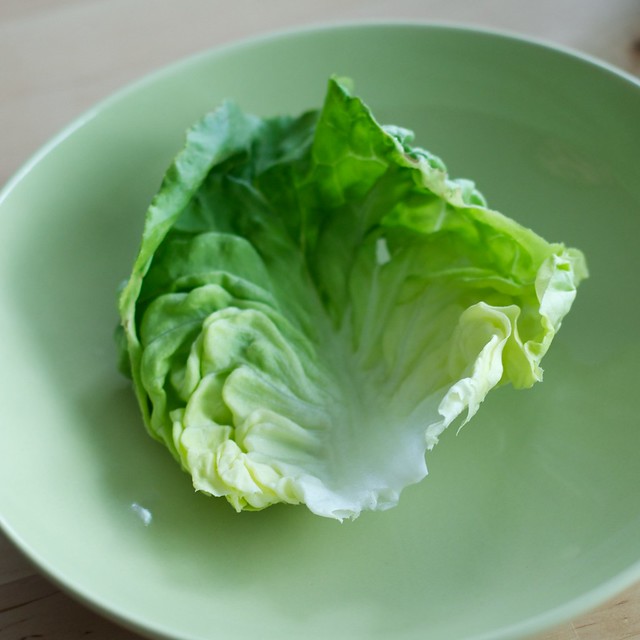
1 head Bibb lettuce, washed and the leaves spun dry count 2-3 per person
2-3 spring onions, cut into segments 3-4" in length; cut onions in half or quarter them lengthwise
2 medium carrots, peeled and grated
1/2 cucumber cut lengthwise in half, and then cut into small crunchy strips, peel skin if waxy.
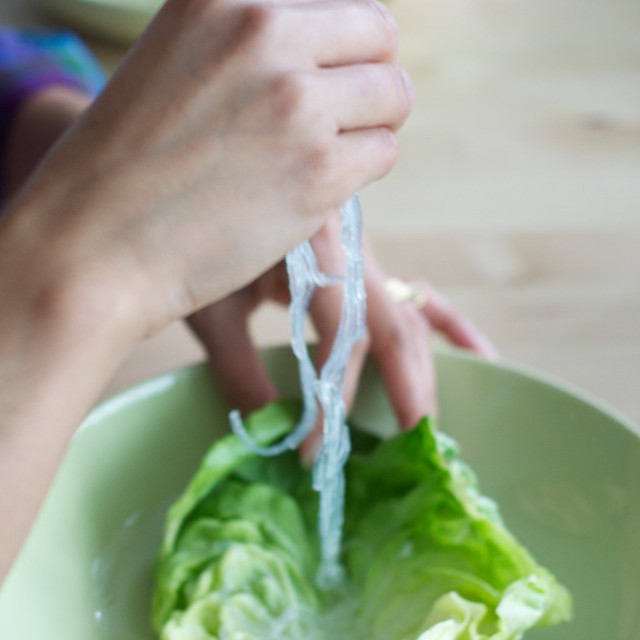
2 oz dried mung bean noodles, optional. Hydrate the dried mung bean threads by briefly boiling in hot water and then draining and tossing with just a tad of sesame oil (optional).
1/2 cup chopped fresh cilantro
For the tofu glaze
3 tbsp soy sauce
1 and 1/2 tbsp rice vinegar
1 tsp toasted sesame oil
1 tsp grated ginger
1-2 tsp sambal oelek
1 tsp black or white sesame seeds
1 tbsp molasses
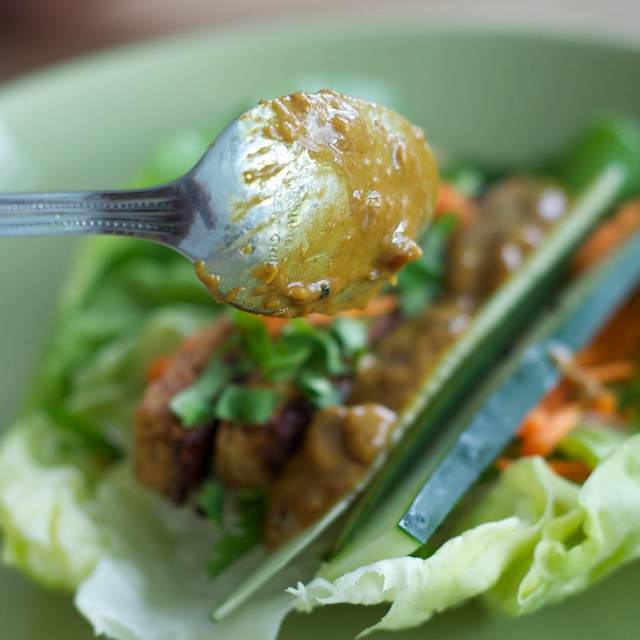
Serve with peanut sauce, store-bought is fine.
Special tools: not really anything too fancy: a salad spinner, a box grater, regular pots and pans, jelly roll pan, paper towels, knives, cutting boards. Attractive serving dishes would really showcase the gorgeous ingredients. We do eat with our eyes after all.
Prep ahead: prepare Bibb lettuce, and prepare peanut sauce; can also prepare mung bean noodles. I prep the Bibb lettuce by carefully removing each leaf and washing it thoroughly. Once washed, I spin them in a salad spinner to expel all of the water, and then place them in a zip lock gallon size bag. They will stay fresh for up to a week.
Directions:
Step 1: Drain the tofu and expel the water out of it. The lazy way is to wrap the tofu in a paper towel just drying it very lightly. Get out a jelly roll pan and line it with paper towels. Cut up the tofu so it is in 3/4" thick strips. Lay out the tofu strips on the paper towels and salt them. Let them rest 7-10 minutes. The salting draws the water up to the surface. Use a paper towel to "wick" away the water. Then rotate the strips a quarter turn, and salt and repeat. This really does result in a chewy texture and makes pan-frying very easy, and with less oil. If you are letting the tofu rest, you can prep other parts of this recipe including the veggies used in the wrap, or prepping the Bibb lettuce, which I have made Step 2.
Step 2: Wash the Bibb lettuce and set aside in the fridge. Make sure that the leaves are dry. This can be done up to 4 days ahead of time. Wash each leaf carefully and then spin them dry in a salad spinner. Once dry, store the leaves in a ziplock bag in the fridge. They will last this way up to 1 week in the fridge.
Step 3: Arrange the prepared vegetables in an attractive dish or plate, and place in the fridge covered with a plate or plastic wrap to keep cold. I recommend prepping the veggies right before serving, they just look so much better. Trust me.
Step 4: Prepare the mung bean threads or noodles if using. To rehydrate them, cook them like you would pasta, but turn the water off when it reaches a boil AND THEN add the mung bean threads. Let them hydrate for a few minutes. They will have that consistency of jellyfish tentacles or that weird jelly goop that comes out of kids toy vending machines. I know, I know. They can be rinsed under cold water and then tossed with a bit of cold water and oil to make them loose. You can also substitute vermicelli noodles.
Step 5: Add 1 tbsp of peanut oil to a non-stick or cast iron pan, and heat up over medium heat. Once hot, pan fry the tofu until golden on each side (about 6 minutes for the first side) then few minutes each side because the pan will be hot! If preparing more than 1 lb of tofu (more than 1 package) cook the tofu in batches using about 1 tbsp of oil for each batch of tofu, and not overcrowding the pan. Remove the cooked tofu to a plate.
Step 6: Meanwhile prepare the tofu glaze. In a medium bowl stir all the ingredients for the tofu glaze together.
Step 7: Once the tofu has cooked, add it back to the pan, and ladle the glaze over the tofu, eventually pouring the remainder into the pan. It will heat up and caramelize quickly. Move it off the heat and remove the strips to a serving dish.
Step 8: Set out everything so it can be assembled at the table. I place the grated carrots, cuke strips, and scallions, and lettuce on a large plate. I set the cilantro, mung bean noodles, and peanut sauce in their own bowls. I give everyone chopsticks and spoons.
How to assemble:
1. Lay out the lettuce wrapper
2. Add in mung bean noodles
3. Add some tofu and then add some...
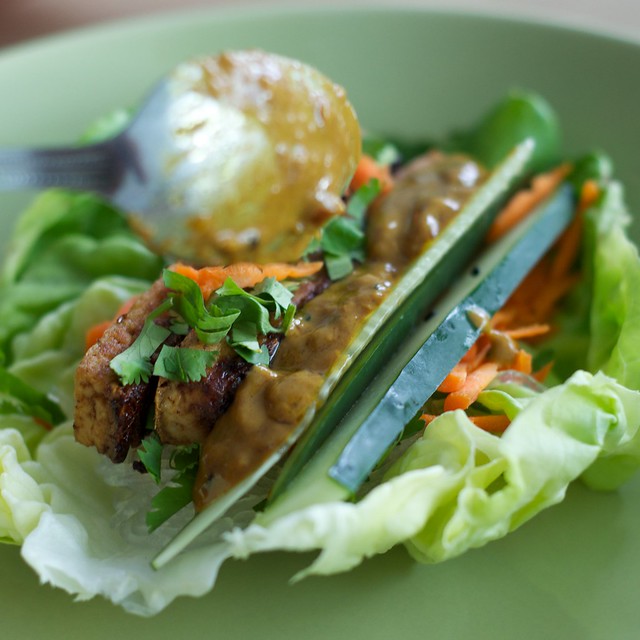
4. Veggies and peanut sauce
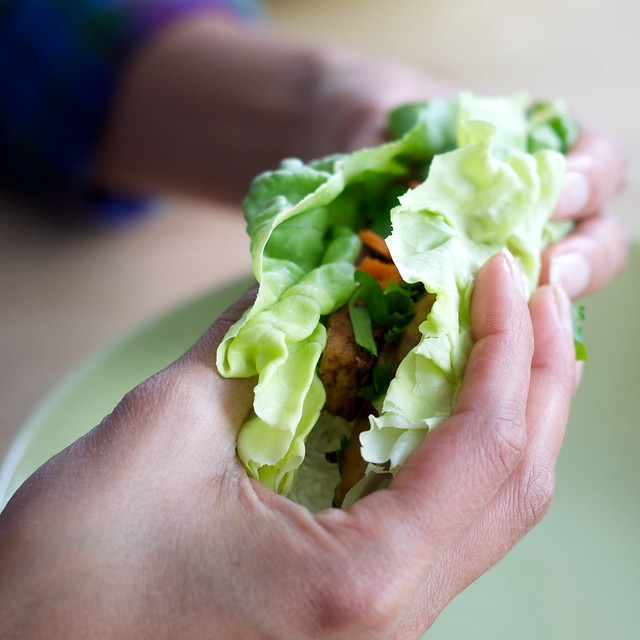
5. Eat, repeat!