May 20, 2015

Burritos with Avocado Crema


Here is an awesome recipe you should customize and make. I like to pop up here every once in while and put a recipe up. We have made this about 3 times. It's really good. I got fancy last night and made an avocado cream sauce which was finger-licking and plate-licking good.

I make a version of dry-baked burritos that use 10" tortillas that are stuffed with pinto beans, onions, garlic, potatoes, and 1 of the Field Roast Mexican Chipotle sausages (or you could use Morningstar sausages). I've made this a few times and I never measure anything so here is an approximation. You can customize to whatever you have on hand.

Burritos with Avocado Crema
Yield: 4 servings

For burritos:
3/4 cup dry pinto beans, soaked for at least 4 hours, or substitute 1, 14 oz can of cooked pinto beans.
Olive oil
1/2 small onion
1 clove garlic
1 small waxy yellow or red potato
1 Mexican-Chipotle Field Roast sausage, crumbled
1.5 cups shredded cheese, like cheddar
8-10 10" tortillas

Avocado Crema
Yield 1 and 1/2 cups
Recipe adapted from the Hass Avocado Board here.

2 ripe avocados
1 lime
1/3 cup yogurt
some cream
water to thin
salt
Jalapeno, deveined and deseeded (optional)
Recipe follows in main directions

For garnishing finished burritos:
Thinly sliced lettuce, like Romaine
Chopped cilantro and spring onions

Directions:
1. Cook pinto beans and potato together in the pressure cooker. I use the smaller fry pan. Place soaked beans in cooker, and add enough water to the 1/2 indication level. Place whole, unpeeled potato on top of the beans. Cover, heat over high heat, and bring to high pressure. Cook 14 minutes on high pressure turning the heat down to maintain high pressure.

Since a potato has been added to the pan, watch the pressure cooker to avoid pressure falling once it reaches pressure.  Once time is up, use the natural release method to let cool. Once cooked and cooled, drain the pinto beans and peel the potato once cool enough to handle.

Preheat oven to 350 º F; Lightly grease a large baking tray that is 9 x 12".

2. In a wide and deep saute pan, heat up olive oil and saute the onion and garlic together. I usually wipe out the pressure cooker fry pan and use the same pan to avoid using too many pots. Add in the Field Roast sausage crumbles and then cube the potato and add it in. Taste for salt and add some if it needs it. Turn the heat off and stir everything together to combine it well.

3. Set out the tortillas and cheese on a plate. Taking 1 tortilla at a time, add 1-2 tablespoons of cheese and spoon about 1/4 cup or more of the bean mixture in the center of the tortilla. Take up the sides, and center it by pushing up then down. Fold the sides in from the middle and roll the burrito up tucking the sides inside so no filling spills out. Put seam side down in pan. Repeat with all burritos. Once done, set burritos in oven and bake for 15-20 minutes watching that the tops don't get too brown.

4. In a blender, add the flesh of the avocado, the juice of the lime, about 3 tablespoons of water, and the yogurt, and the jalapeno. Blend. If too thick,  thin with water and then add the cream. Adjust for salt and lime juice. You want it creamy but not too thin. Once done set aside.

5. Now to plate everything: Place 2 burritos on a plate and smother them with the avocado crema. Top with cilantro and spring onions and lettuce. Serve immediately.

Now, if you'll excuse me, I have some leftover burritos to devour. Happy Spring - almost Summer!


November 26, 2014

Olympics

Hurricane Ridge

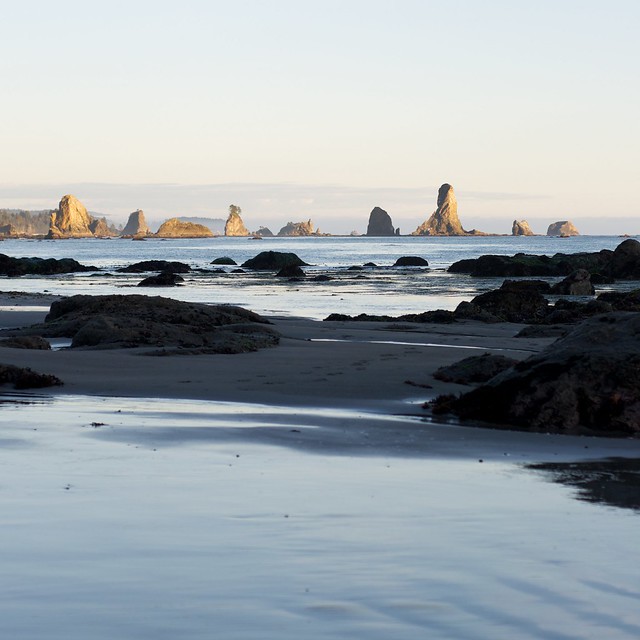
Third Beach

Camp

Tide pools

Barnacles

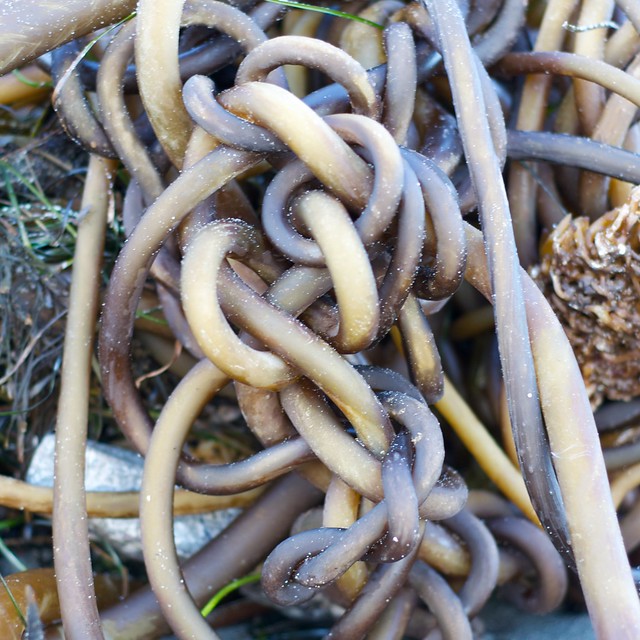
Seaweed

Third Beach

Third beach

Untitled

Untitled

One of my favorite views from Seattle is looking out towards the gorgeous Olympic mountains. It's fun to watch them strip themselves of snow all summer. On clear summer days the mountains look especially inviting. Now that fall has turned into a pleasantly rainy winter (how is it December next week?), it's nice to catch a glimpse of the snow covered peaks when the rain and fog lift. This part of the country is gorgeous rain or shine. 

When my friend Sara (whom I collectively refer to as Sars or Sari) and her dad, Larry, came out in September, I tagged along with them when they visited the Olympics. From Seattle, we took the Bainbridge Island ferry, and drove up through Poulsbo to connect to Highway 101. In Port Angeles we drove into the Olympic National Park to Hurricane Ridge. From the ridge, we drove to Obstruction Peak, and then hiked some before trekking west to the Pacific. After being in a car all morning, Sara and I were giddy and our hike involved carefully navigating scree and snapping selfies amid some stunning mountain backdrops. 

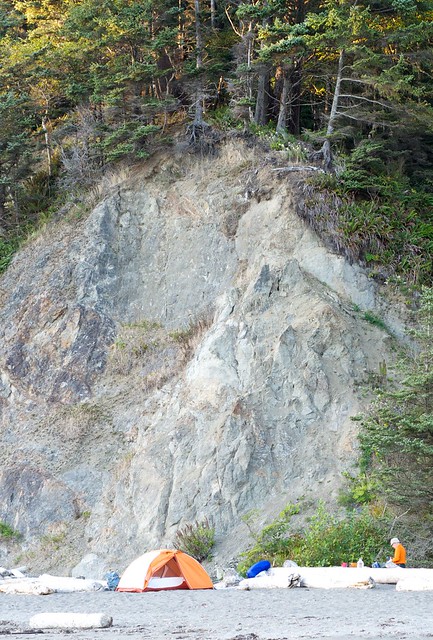
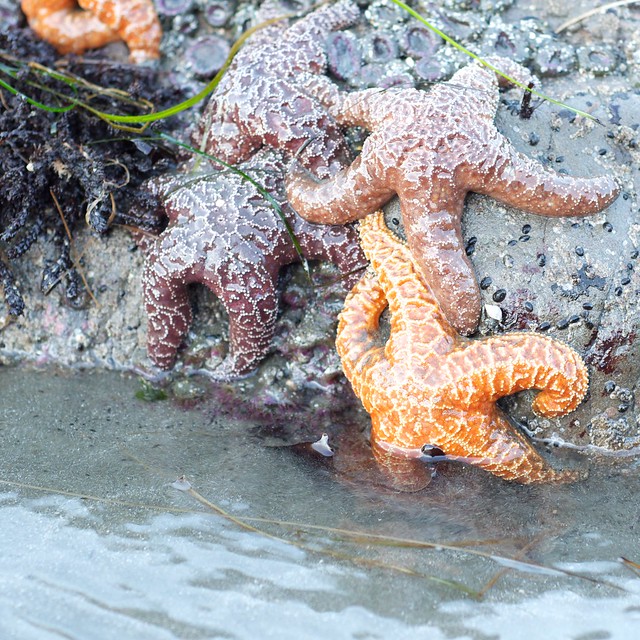
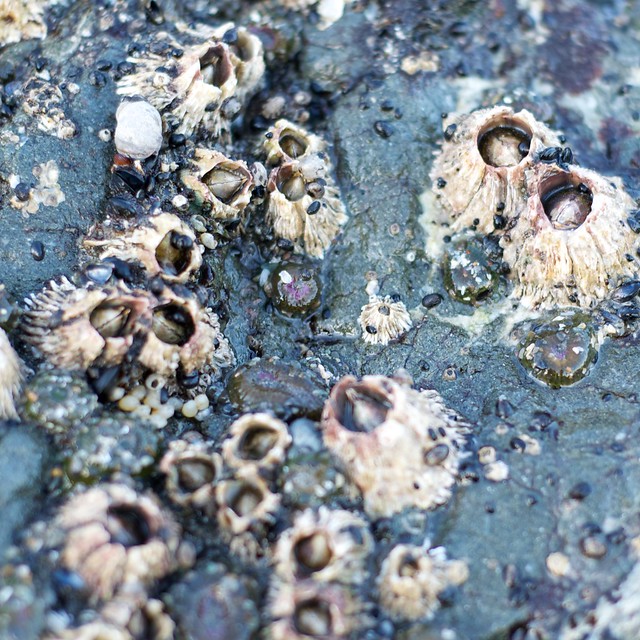
That afternoon we made it to Third Beach, set up camp, and explored the tidal pools. The weather was gorgeous, and I would highly recommend camping here for it's wild scenery and privacy. The next morning, we went to Rialto Beach and hiked up to Hole in the Wall during low tide. The campsites at Rialto are easier to access. For example, at Third Beach, the beach is a 1.5 mile walk (one-way) so you have to pack all your stuff in and out. Which also lends a remoteness to the location. 

After Hole in the Wall we drove to the Hoh Rain Forest, and walked amid new and old-growth rain forest. Not wanting to abandon the beach for too long, we headed back and lounged. I was designated camp cook, which means everyone received a well balanced meal and plenty of beers. 

Before heading home, we stopped at the Next Door Gastropub in Port Angeles. The food was delicious and, as expected out here, there was a diverse Pacific NW beer selection. Although our visit only lasted 3 days, it's easy to spend a week here. The Olympic peninsula has incredible ecological diversity. On our visit, we went from alpine, glacier-capped mountains to the wild and rocky Pacific coast to exploring an old-growth rain forest. Amazing. 

When we visited: early September
Areas visited: Olympic National Park and Forest, Hurricane Ridge, Third Beach, Rialto Beach, Hole in the Wall, Hoh River Rainforest.
Permits required: Overnight backpacking/camping permits, bear canisters, park entry fees to the Olympic National Park and Hoh River Rainforest, and ferry tickets. 

November 22, 2014

CSA Noodle Bowls

CSA noodle bowl

I'm not sure how to correctly name this soup, so I've gone with: a steaming hot noodle bowl topped with lots of roasted fall vegetables. The inspiration came from ramen, but I wanted a way to vegetarianize the dish, and make it feel healthy and filling. One day, I had a lot of spare CSA veggies lying around and I really wanted ramen. I decided to roast all the veggies, put together a simple broth, and add noodles. Since I only had somen noodles, I used those, and can report happy delicious results. However, the next time I used ramen noodle packets, tossed the flavorings, and cooked the noodles directly in the broth. Delicious. If you crave ramen veggie noodle bowls this will not disappoint.

This is a fun soup to assemble when you've got a bit of extra time. Since there a few steps to getting everything ready I've outlined as follows: first, I cut up a small pumpkin or other another type of squash, into wedges. The squash gets roasted in a half sheet jelly pan for 40-45 minutes. While the squash cooks, I prep two other soup ingredients that will get roasted in the oven while the squash cooks. The first is broccoli and mushrooms, and the second is marinaded tofu. Since both of these can cook in about 20-25 minutes, it makes oven multitasking easier. While everything bakes, the noodles and the broth can be prepped. Finally, I cut carrots into matchsticks for a garnish. If you've still got energy, roast the squash seeds.

When I made this dish, we had leftovers, and ate the soup again two days later. All the ingredients can be assembled ahead of time and prepped just before serving. In particular, the roasted pumpkin, and the roasted broccoli and mushrooms can be prepared ahead of time. Store the prepped ingredients separately so they don't become soggy. I like to prepare the noodles just before serving, as I find they lose their texture.

I'm calling these CSA noodle bowls in honor of my CSA veggies that always get thrown into soup.

CSA Noodle Bowls
Yield: 4 servings 

Ingredients: 
1 small pumpkin or other squash, cut into wedges
1 head broccoli, cut into florets
1 package mushrooms, quartered
olive oil
salt and pepper
tofu, cut into 8 rectangular slabs
1/4 cup peanut oil
1/4 cup soy sauce
2 T black strap molasses
2 tsp sambal oelek
1 carrot cut into thin matchsticks, or grated
1 package noodles, somen or ramen. If using ramen, use 2 packages for 4 people, omit flavoring packets.

Soup broth ingredients:
6 cups chicken or vegetarian broth, or water
1/4 cup soy sauce
6 strips fresh ginger

Special tools: about 3 mixing bowls, 2 half-sheet jelly roll pans, an 8" by 8" square baking dish, 2 large pots for stock and cooking noodles, cutting board, knife.

Directions: 
Step 1: Preheat oven to 400 º F

Step 2: Cut the pumpkin into wedges, remove the seeds, and toss the squash wedges with 2 tbsp of olive oil. Add salt and pepper to the squash, and place the wedges so the skin is touching the pan, on a lightly greased jelly roll pan. Cook 40-45 minutes, or until the pumpkin is cooked all the way through.

Step 3: Combine the peanut oil, soy sauce, molasses and sambal in a small glass bowl, and set aside.

Step 4: Slice the mushrooms into 1/4" slices and chop up the broccoli. Toss with 2 tsp of olive oil, and add salt and pepper. Lay out on a greased jelly roll pan. After the pumpkin has cooked 20 minutes, place the broccoli-mushroom pan into the oven and roast both the pumpkin wedges and the broccoli and mushrooms for the remaining 20 minutes. Note, the pumpkin will cook a total of 40-45 minutes

Step 5: Cut the tofu up into 8-10 thick rectangular pieces, or cube into 1" chunks. Lay the tofu pieces into a deep baking dish and pour the remainder of the soy-molasses mixture on top. Make sure all the tofu pieces are immersed. Place in the oven and cook for the remaining 20 minutes that the vegetables are cooking.

Step 6: In a large pot add the broth, ginger, and soy sauce and simmer over medium-low heat until ready to serve. Remove the ginger from the pot before serving.

Step 7: In another large pot, boil water for the pasta, and cook the noodles according to package directions.

Step 8: Once the vegetables and squash are done roasting, remove them from the oven, and set aside. Turn the broiler on high and broil the tofu until golden and bubbling, +/- 5 minutes, keeping a close watch on the tofu.

Step 9:  Now for the fun part. If possible line up all the ingredients in order so you can build the noodle bowls. In a bowl, add the noodles, and then top with roasted veggies, a wedge of pumpkin, a few blocks of tofu, and then ladle the broth on top. Garnish with the carrots and serve immediately.

November 11, 2014

Uttapam

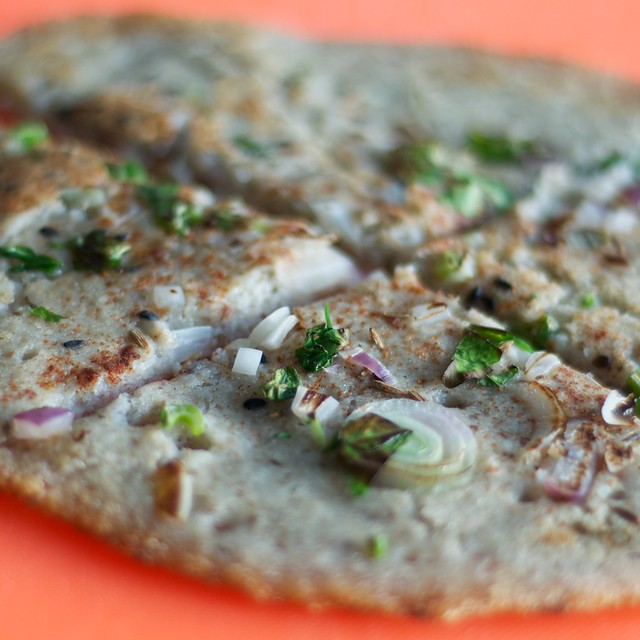
DSC_0432
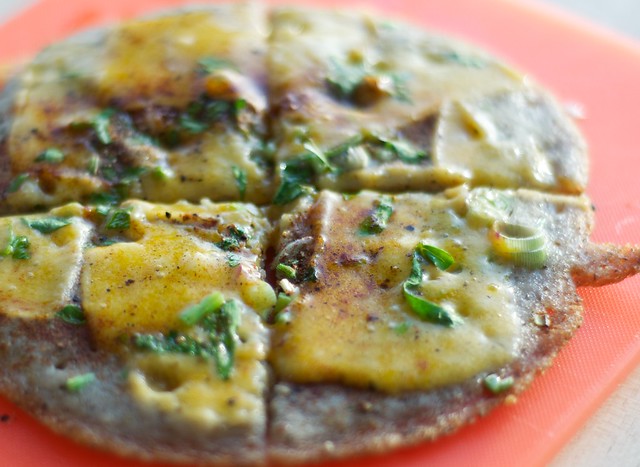
American uttapam (salt, pepper, cumin seeds, cilantro, diced onions and bell peppers, cheese)
DSC_0418
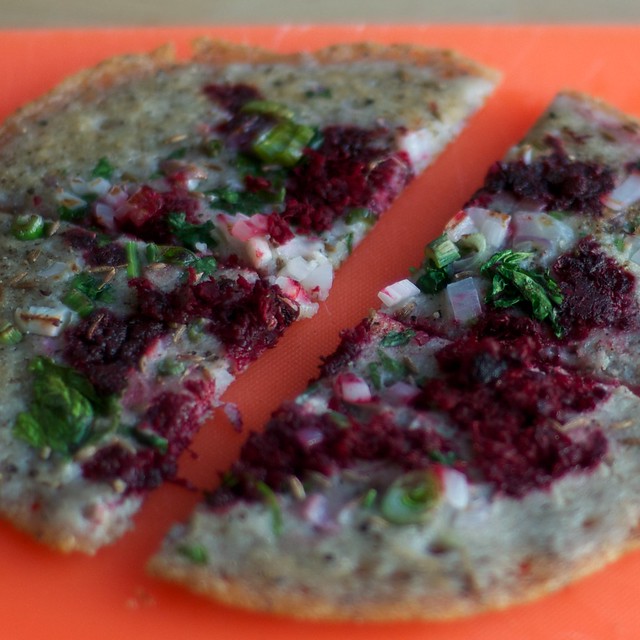
Simple uttapam (salt, pepper, cumin seeds, cilantro, onion, paprika, sesame seeds)
DSC_0435
More advanced uttapam (salt, pepper, cumin seeds, grated beets, chopped fennel)

With this recipe I must offer a disclaimer. Firstly, I am not South Indian.

Secondly, this recipe is not a hand me down from my mother, or her mother, or any long lost family relative from generations of genius cooks. This recipe is solely born out of my singular obsession with certain South Indian foods which happen to contain soaked rice and udad dhal.

Thirdly, I am an ABCD* that speaks fluent, funny sounding Gujarati. If you put a vegetarian south Indian dish in front of me, it will be devoured. Murukku have no chance of surviving. Your extra rasam will find it's way into my stomach. Any dosa batter you had on hand, will be carried out of your home. Idlis? Gone. *An ABCD is an American-born confused desi. Non-resident Indians (NRIs) that settled in the US, call first generation Indians ABCDs because of our broken sounding language skills and lack of proper desi identity. And the fact that I have lumped all the South Indian states into a single culinary tradition. 

My obsession has proven to be useful. For a few years, the only Indian dish I would prepare would be dosa and sambar. Sometimes I'd venture out and make idli's, or chole, but this dish was the only dish I'd prepare regularly. It's unfortunate, that I overlooked uttapam for so long because it contains the same traits that I love about dosa: the planning, the soaking, the grinding, the inevitable wait for the bubbly to occur. If dosa is a lean, crispy, fattening, thin rice crepe, then uttapam is the stocky, well-rounded, rice griddle pancake. But uttapam is so much better. You serve it like an upside down pancake, and while it cooks, you can add toppings to it, so it's kind of like a griddle-cake pizza.

Uttapam is made out of a base of white rice and udad dhal or split black gram. These two ingredients are added to a bowl, covered with water, and allowed to soak overnight. Once done soaking, they are blended together, allowed to rest in a warm spot overnight, and then given a few last minute additions before being the world's answer to the best damn savory pancakes.

So how can you make it? You need four main ingredients: long-grain white rice and brown rice, yellow split peas, and udad dhal. I know - this list seems long, however these ingredients are shelf-stable and don't require much storage room. And once you start preparing the batter weekly, you'll have all the ingredients in your larder. Of these essential ingredients, udad is key. It's sold as urad, udad or black Bengal gram, and is often sold in one of three ways: 1) whole and peeled so it looks white, 2) it is sold split with the black skins on, or 3) it is sold split with no skins. Any variety of these will work. I have tried them all. While not common in grocery stores or co-ops, urad dhal can be purchased online, or a south Asian grocery store.

Finally, I want to note here that I've experimented with different types of lentils so that you won't have to. I've experimented with different ratios of lentils to rice. Of the lentils, I've tried: yellow-split peas, red lentils, green split peas, regular grocery store lentils, and mung beans. I find that udad dhal works the best, and I like the body the yellow-split peas provides. Since I wanted to try healthier types of whole grain rice, I've also tried different ratios of: white and brown basmati rice and white jasmine rice, grocery store regular brown rice, grocery store regular long grain rice, parboiled long-grain rice, forbidden black rice, and red wehani rice. Of these rices, all of the long-grain varieties worked, but the forbidden black rice and the red rices were too starchy and caused the uttapam to stick when cooked. So far, I found half white rice and half brown rice to be a good cooked consistency.

Ready to get started?
DSC_0010
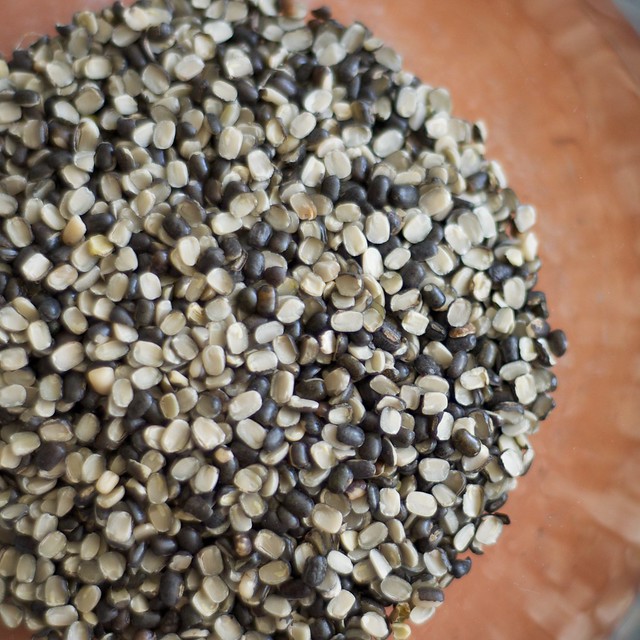
For my uttapam, I add 1/2 cup (100 g) udad dhal to a large bowl.
DSC_0043

DSC_0054
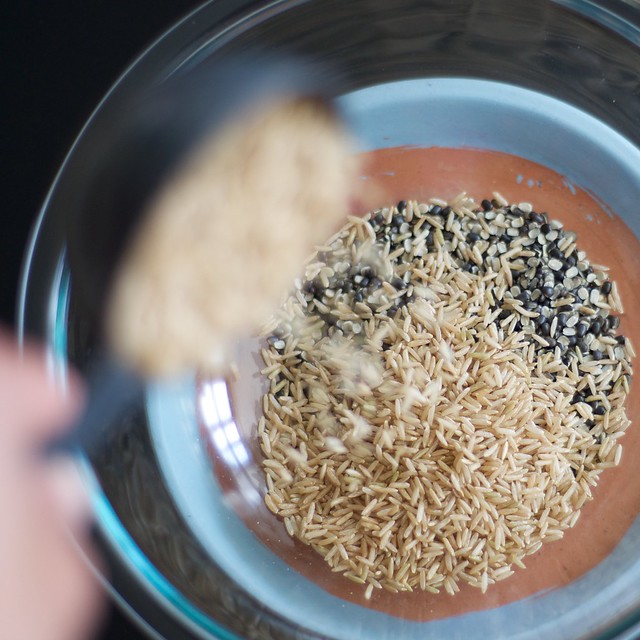
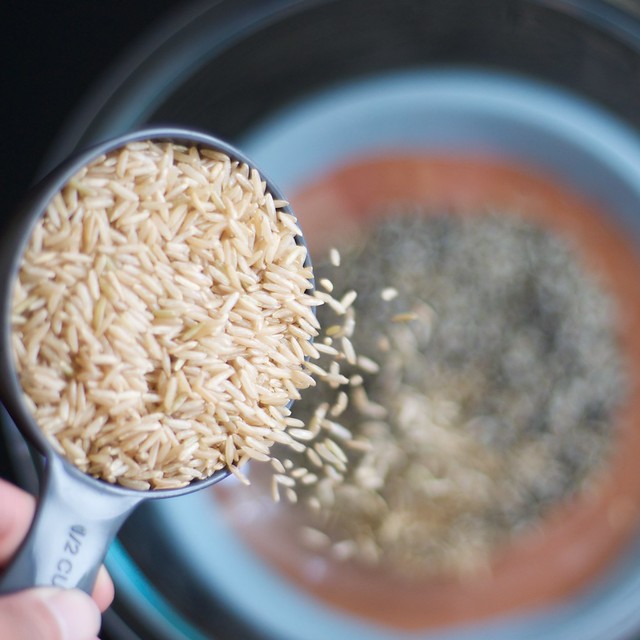
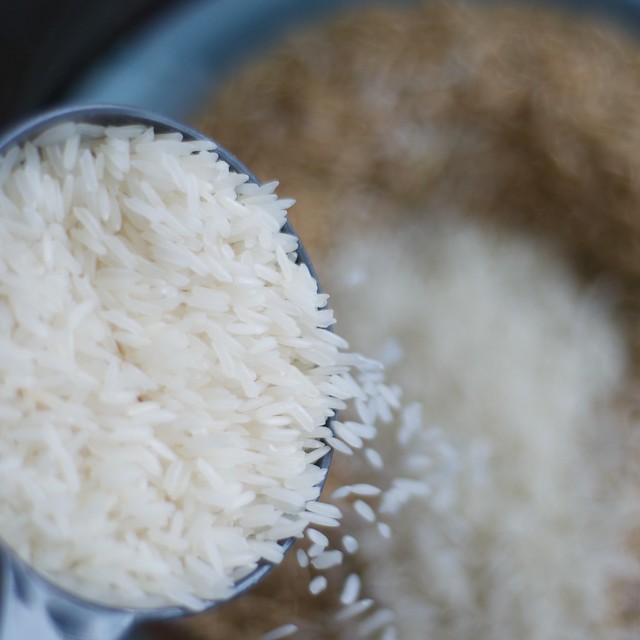
Then I add 1/2 cup (105 g) of long-grain organic brown rice (these pictures were fun to take).
DSC_0066
Next, add 1/2 cup (120 g) of long-grain white rice.
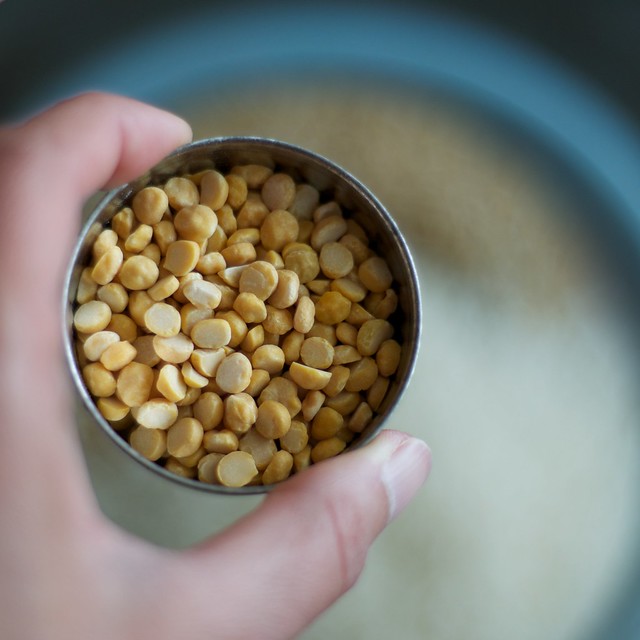
DSC_0085
Next, add 2 tbsp (25 g) of yellow split peas (or channa dhal) to the bowl.
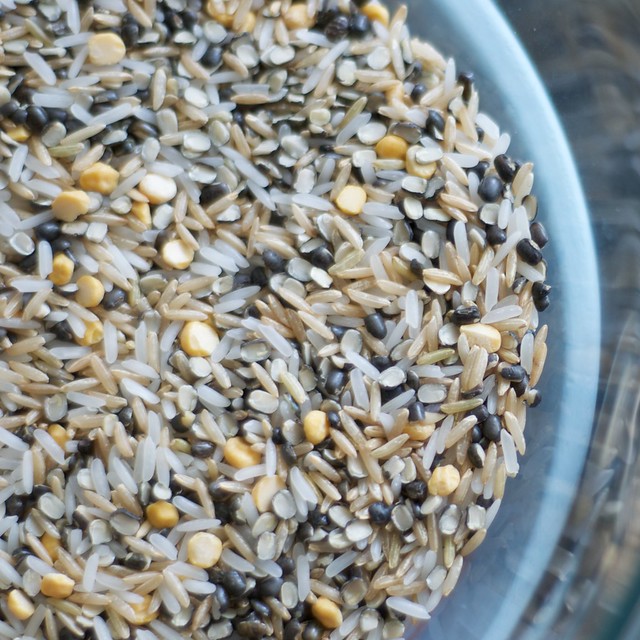
DSC_0100
Once these 4 ingredients have been added, stir the contents of the bowl. The next step is adding water and then letting the lentils and rice soak overnight.
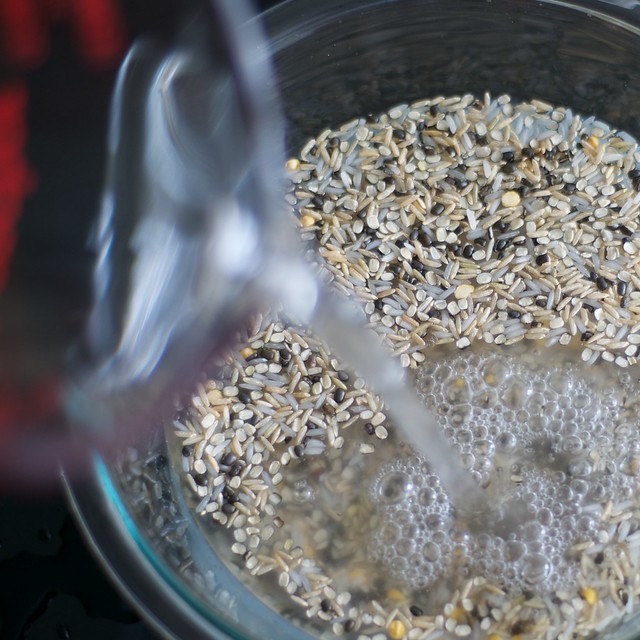
DSC_0122
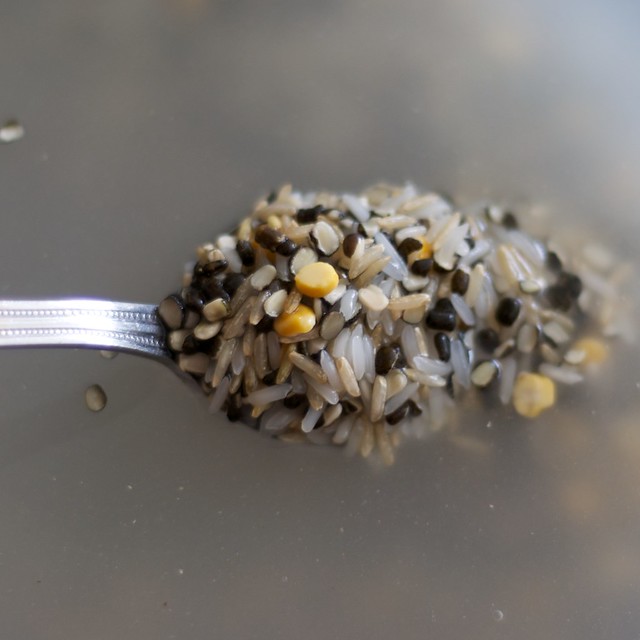
Pour in about 2 cups of cold water and let it soak overnight. I like to place a plate on top and then place the bowl in the oven.
DSC_0136
The soaked lentils and rice should like this after pouring water into the bowl.

Then, the next day:
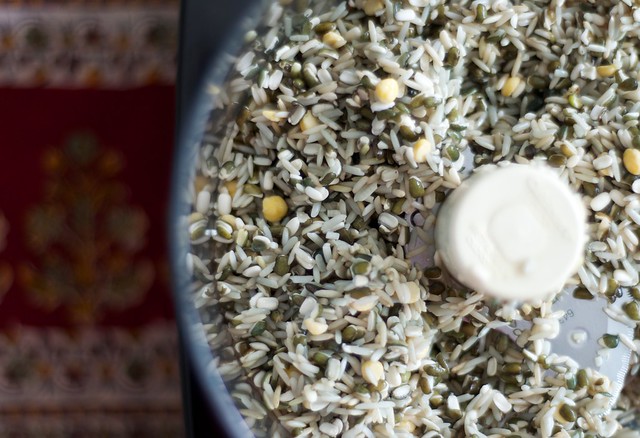
DSC_0234
Drain off the water from the soaked lentils and rice, and add them to the food processor. Make sure the mixing blades are in the food processor. The udad dhal may look green. That's ok.
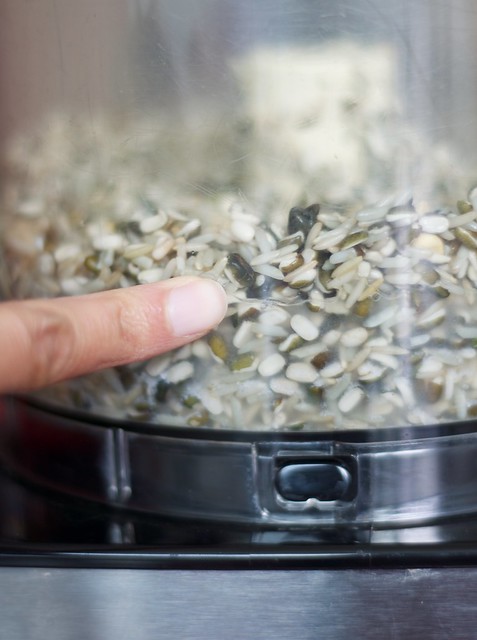
DSC_0246
Pour in about 1/2 cup to 1 cup of water. This is about how much water is needed. About 2 tablespoons of plain yogurt may be added at this step.
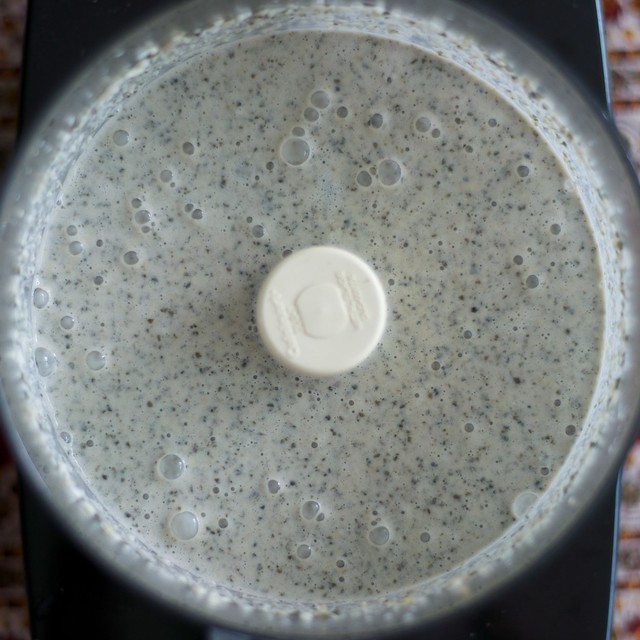
DSC_0252
Blend for 1 minute. Scraping down the sides with a rubber spatula. Process for 15 second to 30 second intervals until the texture is uniform.
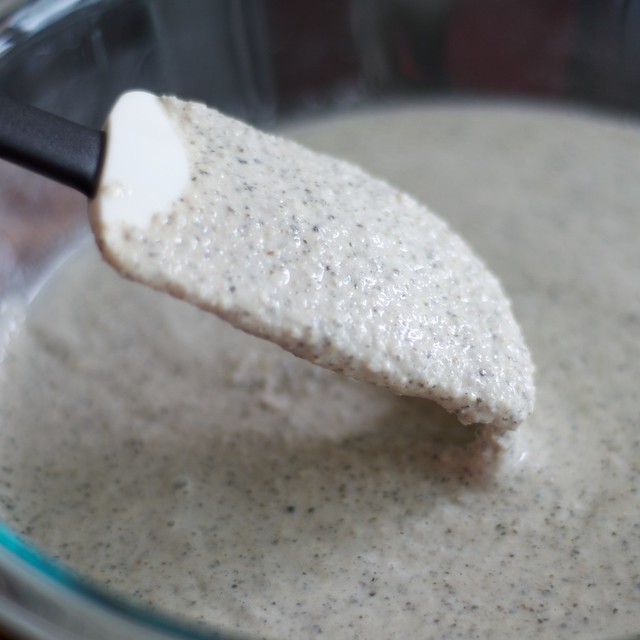
DSC_0302
The uttapam batter is ready to rest. Now at this step, the uttapam batter should be covered with a plate or plastic wrap, and placed in a warm area to ripen. This can take a few hours to overnight, depending on how warm your kitchen remains. I like to place the bowl in the oven.

The recipe follows below. While this might not be an authentic recipe, it's easily replicable in any kitchen with a blender or food processor.

Neeli's inauthentic tasty Uttapam
Yield: 4 servings, such as 2 to 3, 6" uttapam per person. This recipe is best thought of as prepared in multi-day steps. Day 1: soak ingredients. Day 2: blend ingredients and allow them to rest. Day 3: Eat! Repeat! I recommend serving for lunch or breakfast. 

Special tools: a large mixing bowl, a food processor, patience and curiosity.

Day 1: Foundation for batter (these ingredients will be soaked together)
1/2 cup (100 g) udad dhal (please note that split black gram, whole black gram, peeled split black gram, or unpeeled split black gram will all work fine)
1/2 (120 g) long grain white rice (basmati, jasmine, or regular grocery store long-grain rice, I prefer organic)
1/2 cup (105 g) long grain brown rice (basmati, jasmine, or regular grocery store brown long-grain rice is fine, I prefer organic)
2 tbsp  (25 g) yellow split peas or channa dhal, mung beans can be OK too here, although sometimes they sprout if left to soak for too long.
2-4 cups water

Day 2: Blending time
the drained rice and lentils
2 to 3 cups of water, may reserve the soaking water, or can use fresh water.
2 T to 1/4 cup yogurt (can be omitted)

Directions for Day 1 and Day 2:
Step 1: I rinse the rice and the lentils. Purists will not rinse, but these are organic products from the earth, and I have made three batches where a stone, yes a stone, has been ground into the batter. Trust me, NO ONE wants to bite down on a stone, and tiny stones are not good for your blender or food processor blades. Rinse the lentils and rice well. After rinsing, add them to a large mixing bowl and cover with water. Cover the bowl and let the lentils and rice soak for 1 day, or overnight. For example, you may soak the lentils and rice overnight. Then, the following day the rice and lentils can be blended in the morning. Alternatively, you may soak these together before going to work in the morning, and when you get home you can blend the batter.

Step 2: Drain the water from the soaked lentils and rice. Inspect the rice and lentils carefully for any loose stones or rocks. Set aside about 2-3 cups of water. We will not use all the water.

Step 3: Place the drained and soaked rice and lentils into the work bowl of a food processor, or blender. Pour in 1/2 cup to 1 cup of water into the work bowl.  Process or blend together for about 1 minute. After 30 seconds, stop the blender or food processor and use a rubber spatula to scrape down the sides. Only add water if it's too dry. We want a batter with the consistency of pancake batter. Continue processing until all the lentils and rice are uniformly blended. We will not use all the soaked water.

Step 4: Now, a controversial step. I add about 1-2 tbsp of plain yogurt to my batter to kickstart the fermentation, and add a bit of sourness to my batter. Kataash perhaps (a slight tang or pleasant sourness). I add it towards the end of the blending time. For example, once my batter has reached the proper consistency, I pulse in some yogurt until well blended.

Step 5: Turn out the batter to a bowl and cover with plastic wrap or a towel. The batter can be allowed to rest on the counter or in the oven. After a day, place it in the fridge until ready to make. I find it helpful to place reminders on my cell phone to avoid forgetting about the batter.

Day 3: Cooking time
Yield: 4 servings, such as 2 to 3, 6" uttapam per person.
1 recipe of uttapam batter
1/4 cup semolina or sooji  (common ingredient in couscous, and processed into Cream of Wheat)
1/2 tsp salt to taste
1/8 tsp baking soda
Oil (peanut or olive is fine)

Toppings:
flaked sea salt and fresh black pepper
fresh cilantro, chopped
sliced jalapeno rings, remove seeds
cumin seeds, whole
paprika, ground
shredded carrots or beets
diced onions and bell peppers
cheese, cheddar or mont jack
Other nice toppings: chopped fennel, diced tomatoes, diced avocado

Cooking Directions:
Step 1: To the batter, add about 1/4 cup of semolina (sooji), salt to taste, and a thick pinch of baking soda. Stir to combine. The semolina is a non-stick trick.  If omitted, the first few uttapam will stick to the pan, but will eventually stop once enough oil is used. If omitting the semolina, be generous with the oil.

Step 2: Meanwhile, heat up a non-stick griddle, or a cast-iron over medium heat. Add some oil and once hot, pour in about 1/4 or 1/3 cup batter. I like to use a measuring cup or ladle. The batter will spread out, and you can help it.  Drizzle a little oil around the edges. Cook for 1-2 minutes over medium heat. Now, to the toppings.

Step 3: The uttapam can be topped with anything. I like these variations:

Simple: salt, pepper, cumin seeds, cilantro, onion, paprika.
Advanced option 1: salt, pepper, cumin seeds, grated beets, chopped fennel.
Advanced option 2: salt, pepper, cumin seeds, cilantro, paprika, diced fennel
American: salt, pepper, cumin seeds, cilantro, diced onions and bell peppers, cheese

4. Add the toppings of your choice, cook about 3-4 minutes longer, and if desired flip over to cook bottom. The flipping over step may be omitted. Serve immediately toppings side up, with some fresh tomatoes, cilantro chutney, and yogurt.

November 4, 2014

Backpacking Newbs

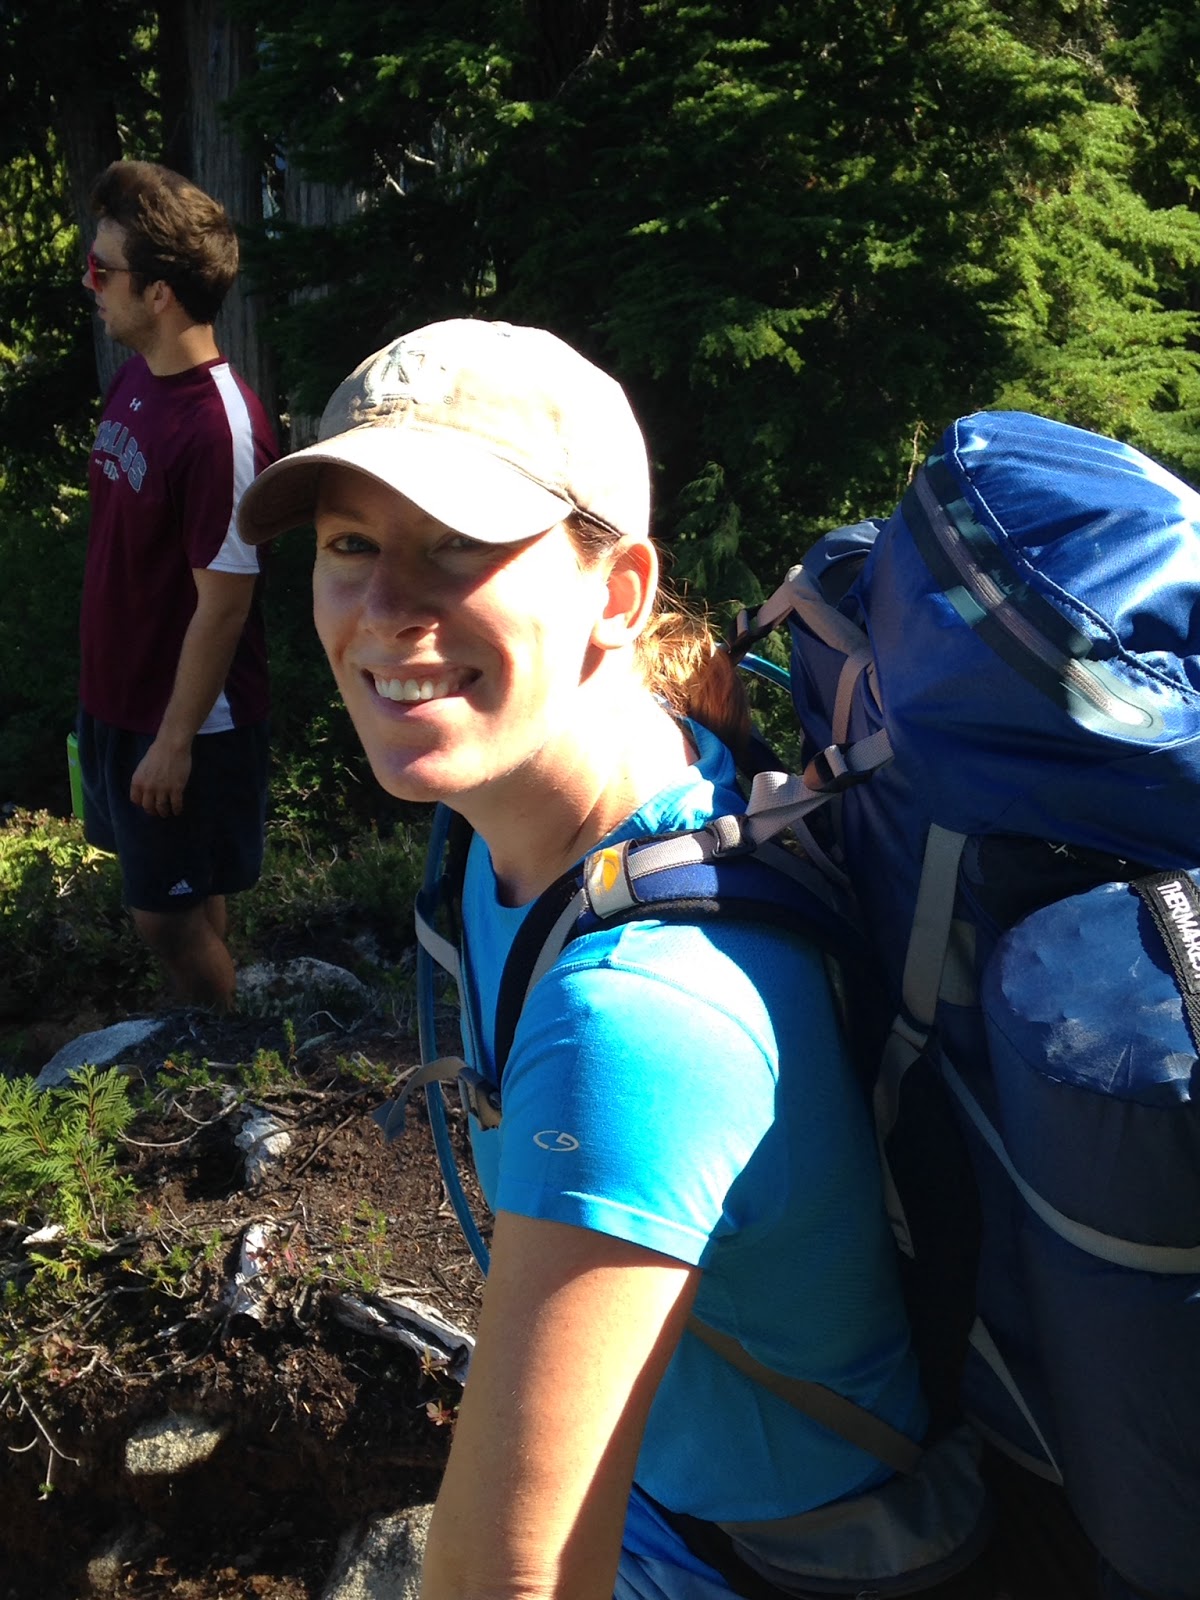
In September, I went on my first backpacking trip to the Alpine Lakes Wilderness to hike and enjoy the gorgeous mountain scenery of the West Fork Foss River and Lakes in the Central Cascades. I have never been backpacking before, preferring day hikes and car camping.

Always a little hesitant to try it out on our own, Karl and I tagged along with some of our friends. Our friends are avid backpackers and they were an excellent group to join. Two of them are medical doctors (both trained in public health, one in family medicine, and the other in disease pathology), the pathologist's dad is a retired mountaineering ex-pilot, and the doctor's wife is an environmentalist gourmet chef. We were in good hands. In terms of gear, they helped us figure out what we needed to take, and since other items like the cooking stove, pots and pans, water purifiers, and snacks and meals were shared among the group, we got to try it out and learn without having to be responsible for getting too much gear. The best way to learn how to do it right is to go with people that do it right. And don't mind answering a lot of newbie questions.

Karl and I joined for 2 days while the group was doing 4 days. On our first day we started from the West Fork Foss trail to Trout, Copper and Little Heart Lake (about 5 miles one way). It is fairly easy to Trout lake, but the trail does climb steadily and switchback until Copper Lake. There are established campsites along each of the lakes; we camped at Little Heart Lake. The next day we trekked up to Big Heart Lake and jumped in the icy water and sunbathed before heading back down. Our friends continued on for some trail and route finding.

All in all, backpacking is better than car camping. One enjoyable aspect of backpacking is that shorter distances are traveled, usually with plenty of time to rest and soak in views. Once the final destination is reached, you can chill out and unpack, and chill out more. Since there are usually only other backpackers on the trails that stay overnight, there is also ample privacy, and no annoying car engines or RVs making noise. While I enjoy an exhausting day hike, I liked breaking up the distance traveled.

Where we went and how to get there: West Fork Foss River and Lakes in Washington's Central Cascades
When we went: First weekend of September
Special permits: purchase and display a NW Forest Pass, fill out Alpine Lakes registration at trailhead.
Total miles hiked: about 15 miles in 2 days.
Where most gear was purchased: REI

We survived. It was amazing, and we returned eager to try it out again on our own.
To you: Sars, Larry, and J+J. Thank you so much for taking us!

Copper Lake, lunch spot. 

Copper Lake

West Fork Foss Lakes Trailhead 

J+J on our climb up to Copper Lake

J on the way to Little Heart Lake

All of us at Big Heart Lake

The lovely Sars

The group trailfinding with Big Heart Lake in the distance

Bouldering and more trailfinding