August 25, 2013

Mustard Curry Banana Peppers

Untitled

Untitled

These mustard curry banana peppers turned out delicious. They are well worth the effort because they taste superior than store bought. The last part of the summer has involved a few canning projects which I shared (jalapeños, cucumber pickles, salsa) previously. I wanted to share what the pickled banana peppers finally looked like after processing. Here is a cost breakdown for the banana peppers. They taste marvelous!

Pickled mustard-curry banana peppers
Recipe from Better Homes and Gardens Can It!
Yield: 4 jars, $2.78 per jar. 

Pickled Banana peppers costs
A mixture of banana peppers, cubanelle, and Hungarian wax peppers were used for these. The recipe called for 2 lb of peppers. These cost 2.99 per lb.
Banana peppers................................$3.89
Hungarian peppers and cubanelles ..$1.88
cumin, 1 small jar.............................$2.99 (not included in cost)
ground mustard, 1 small jar at..........$1.69
mustard seeds, 1 small jar at  ..........$3.69
sugar already in household
salt already in household
curry powder 1 small jar at .............$3.69 (not included in total cost)
vinegar, 1 gallon at .........................$3.15 (not included in total cost)
Total cost: .......................................$20.98
Total adjusted cost: .........................$11.15 (total reflects omitted costs)
Total cost per jar: ............................$2.78

August 18, 2013

Tomato and eggplant caponata

DSC_0413

DSC_0439

DSC_0433

DSC_0436

Ripe summer tomatoes. Mmm. Plump eggplants. Mmm. Windowbox thyme. Mmm. I spent $26 dollars at a farm stand the other day. I picked up tomatoes, eggplant, 3 lb of new potatoes, enough hot peppers to freeze until next year, a half bushel of peaches, and fresh bell peppers. I love summer. The end.

Tomato and eggplant caponata
Yield: 4 servings

Ingredients:
1 ripe large tomato, or 2 small ripe tomatoes, diced
1 large eggplant, diced
2-3 tbsp olive oil
1 tsp thyme, chopped
1 tbsp balsamic vinegar OR freshly squeezed lemon juice
salt and pepper
1-2 tsp capers
4-5 kalamata olives, chopped

Directions:
1. Heat up the olive oil in a wide skillet over medium heat, and sauté the eggplant in a rich amount of olive oil until golden brown about 10-12 minutes. Once cooked, remove the eggplant and the remaining olive oil in a large bowl.

2. In another small mixing bowl combine the capers, chopped Kalamata olives, tomato chunks, thyme, vinegar, and salt and pepper. Stir together and then add to the sautéed eggplant and stir to combine. Adjust salt or herbs if necessary (although with the olives and capers you won't need to). Serve with some warm pita, or boiled new potatoes. The potatoes are excellent at soaking up the juices from the caponata. Drizzle olive oil on top if needed.

August 10, 2013

Canned chipotle salsa

Untitled

Untitled

Untitled

Untitled

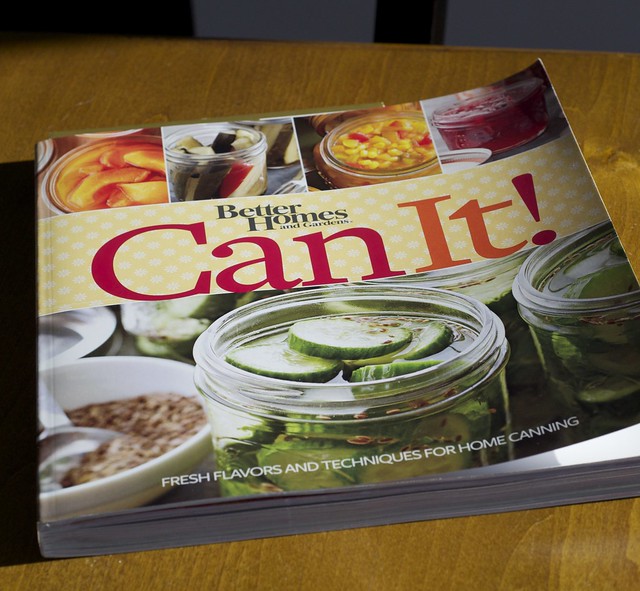
Allow me to share another canning adventure from the 
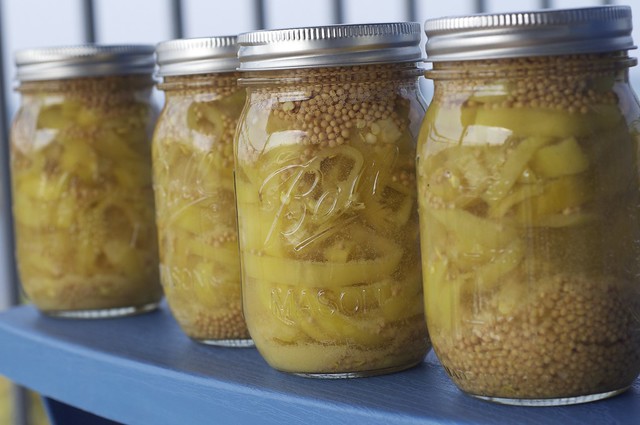
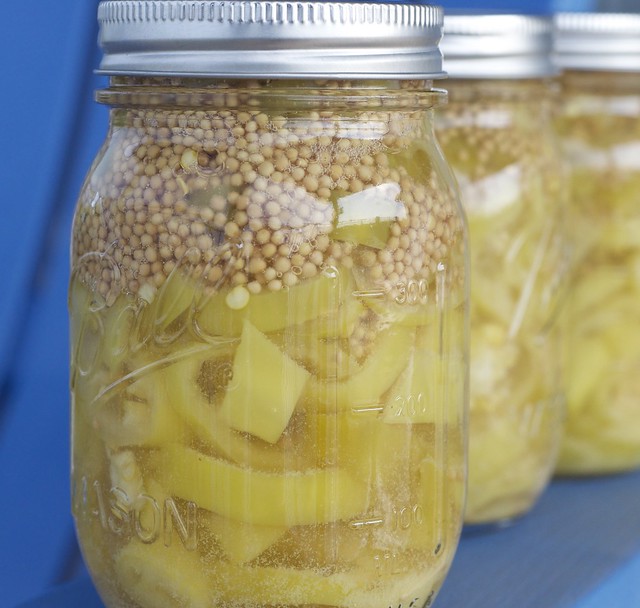
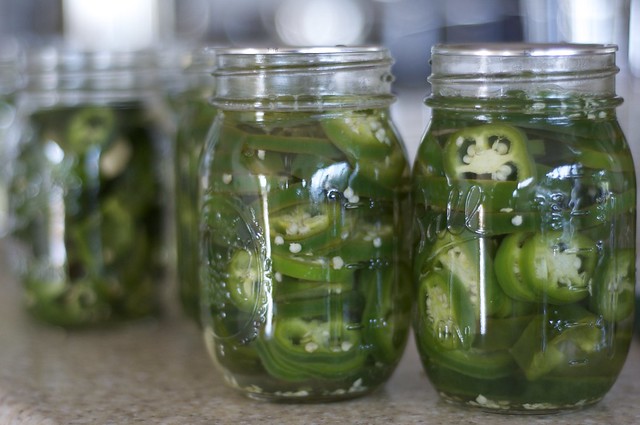
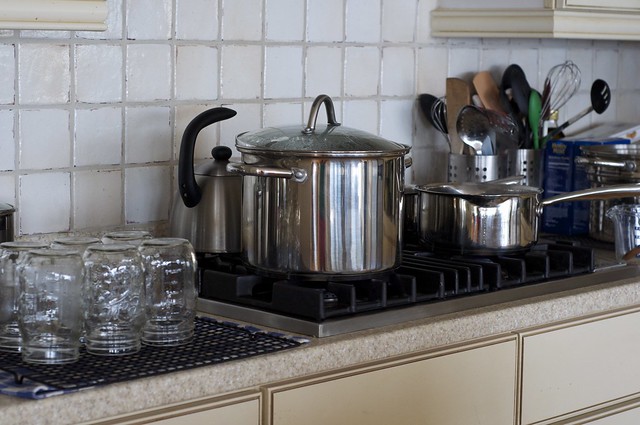
Better Homes and Gardens Can It! book: chunky homemade salsa. In my approach to this recipe, I used chipotle peppers. The result is a slightly smoky medium-hot salsa. The hubs helped me this time, which resulted in us canning a dozen jars in about 3 hours from start to clean-up. We did two recipes: the jars pictured above and more pickles.

I've realized that with canning, the more you do, the better the payoff. Let me put it another way, for all the work that it took to make salsa (and it is a lot), it would have been much better to walk away with three dozen pint size jars, or something like two dozen quarts of salsa. However, most households do not have cooking pots large enough to accommodate this venture. This book's advantage is that it is adapted to the budding canner where most recipes yield a half-dozen jars. A smaller yield is more approachable for a budding canner.

In two previous posts, I shared recipes from the book. This time, I'd like to review the expenses and calculate the cost per jar. This book has not disappointed, but perhaps give it a go by purchasing it, borrowing it, or checking it out from the library?
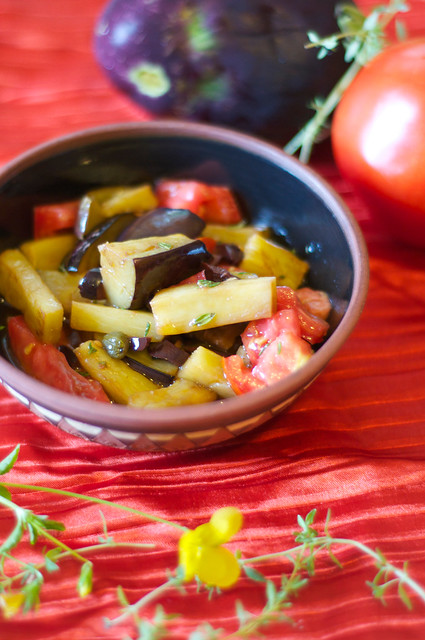
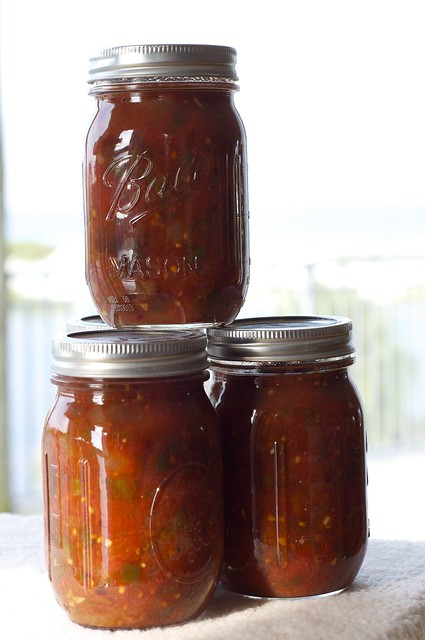
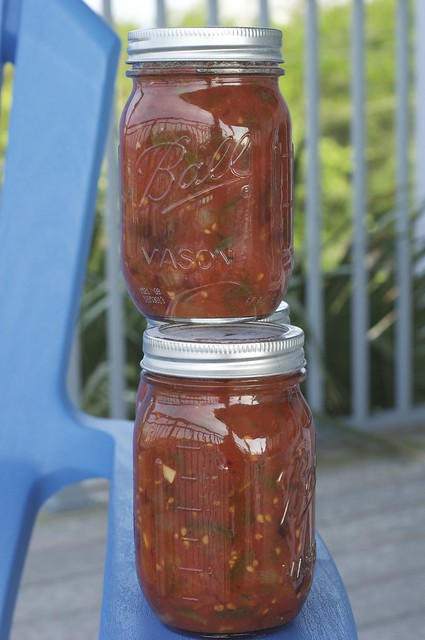
Chipotle salsa 
Yield: ~ 7 jars, $6.43 per jar

Costs for canning salsa:
3 kinds of tomatoes were purchased at $2.59-2.99 per lb for a total of $25.33 or 9.4 lb of tomatoes! I chose tomatoes that were firm and ripe from a grocery store. A cost saving strategy could be to purchase tomatoes when they are on sale, or purchase from the farmers' markets. I estimate that 10 lb of tomatoes would cost $25-30 at a market. Most farmers' markets also sell tomatoes by the bushel, or crate, where you can get an even better deal.  For time and convenience (aka more expensive), I opted to purchase these from a grocery store.
Tomato variety 1 .........................$9.22
Tomato variety 2 .........................$8.75
Tomato variety 3 .........................$7.36
limes, 2 at...................................  $0.86
garlic, 1 head at........................... $0.87
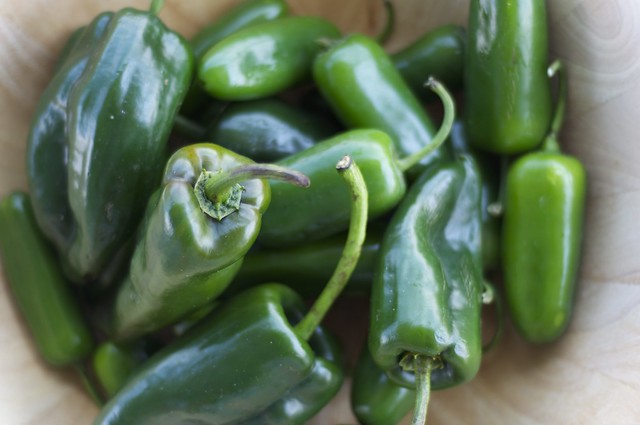
poblanos, 4 at...............................$2.60
cilantro, 1 bunch at.......................$1.19
yellow onions ..............................$1.35
6 oz tomato paste..........................$0.65
1 can chipotle peppers .................$2.69
Ball pint canning jars, 1 dozen at .$9.49
*Salt already in household
*Cumin, 1 small jar........................$2.99 (not included in total cost)
*Vinegar, 1 gallon at .....................$3.15 (not included in total cost)
Total cost......................................$45.03
Cost per jar...................................$6.43 per jar with a total of 7 jars made. 

*Vinegar, salt, spices, limes and cilantro, tomato paste, and chipotle peppers may already be in the household staples. I included the cost here because these would need to be repurchased. If you had these and similar items, the adjusted cost would be: $38.61 or $5.51 per jar.  The cost of water, energy, or personal time has not been calculated.

Purchasing spices from a South Asian grocery stores can reduce costs. A 1 lb bag of cumin generally costs $2-3 dollars, which is the same cost for a 2.1 oz of spices bought at a grocery store.

The costs may be a deterrent when comparing the cost of one jar of homemade salsa to one jar of commercially prepared store bought salsa. I offer a few arguments in favor of trying to make your own homemade:
The taste of a batch that you make will taste superior to the store bought variety.
You can recruit help and spend some quality time with friends, or family.
You may purchase less salsa throughout the year because you have your batch ready.
You gain useful skills and bragging rights.
You pick up a new and useful hobby.
Canned items are pretty to look.
You have salsa in the middle of winter when tomatoes are not in season.

There isn't a real cost difference between the cost of preparing fresh salsa for a meal, and canning them ahead of time. What I mean by this is that you still spend about the a similar monetary amount, if not, more on making fresh salsa, such as pico de gallo, for one to two meals. Increasing the cost (simply doubling or tripling it) to make a super batch results in more yield for less work overall.

August 4, 2013

Pickled Jalapeños

Untitled
A combination of poblano and jalapeño peppers

Untitled
Peppers chopped into rings and packed into jars.

Here are a few pictures for the set up:
Untitled

Untitled

I've got a few tips before you attempt to pickle jalapeños. The first is to make sure you use a plastic cutting board. Wooden cutting boards can become saturated with the capsaicin. This is the phytochemical in peppers that gives it the heat. Use a plastic cutting board. Secondly, sandwich size ziplock bags are perfect for gloves. This will be a useful tip if you purchase everything for the pickles and find yourself a bit scared of cutting all those jalapeños.

If you've never canned anything before, I recommend doing some background reading. Everything must be absolutely clean and sanitized before you begin. Here is an excellent Pinterest board for ideas and resources from University of Nebraska's Cooperative Extension Dietitian, Alice Henneman. These pickles use a boiling water canner, and not a pressure canner.

I covered the overall cost of pickling in this post, if you want to compare how much these cost vs buying store bought. I assure you that your homemade pickles will taste different and better than the store variety. Why? Because you made them, and that is what happens when you make things.

These pickles transform into spicy rings with just a bit of bite. They are pretty darn delicious. 

Pickled Jalapeños
Yield: 6 pint jars

Ingredients
1.5 lb jalapeño peppers
1.5 lb poblano peppers
3 cups water
3 cups white wine vinegar
2 tbsp sugar
1 tsp pickling salt
6 cloves garlic

Directions
Step 1. You will need to prep the jars, lids, and rims so they are sanitized and clean. Once your canning supplies are all clean, you can set them out on clean wire racks until ready to use. For the jars, I wash all the components with soap and water, and then boil the jars and rims for about 3-5 minutes in boiling water. Don't boil the lids! Turn the heat down so the water is no longer boiling and let the lids sit for a few minutes. I clean and sanitize all the tools I use, and then store them on a clean cooling rack. You can see the photos above for how I store them once they come out. 

Step 2. Wash the jalapeño and poblano peppers. Using gloves, slice the peppers into thin rounds. I do not discard the membranes or seeds. If you cannot stand any spice, I suggest removing them. Place the rounds in a large mixing bowl. 

Step 3. Peel the garlic and set aside. 

Step 4. Combine the water, white wine vinegar, sugar, and pickling salt in a 4 quart saucepan and bring to a simmer. Simmer together for 5 minutes until the sugar and salt are dissolved completely. In my picture above the largest pot I had around was my canner, so I had to split up the vinegar making into two parts. This was a bit of extra work, but it was easier to handle. Plus, the smaller pot has a convenient pouring spout. 

Step 5. Place a clove of garlic in each of the 6 jars. Using plastic gloves, pack the peppers into the sterilized jars. Really pack them in. 

Step 6. Carefully pour the hot vinegar mixture into each jar. Leave 1/2" of head space. You can tap the jar very lightly against the counter to get the air bubbles out or use a commercial combination ruler/spatula. Wipe the jars rims clean, put the lids on top, and screw on the rims.  The sealing will take place in the water canner.

Step 7. Fill the water canner with enough water and bring it to a boil. This step can be done ahead of time so the water is boiling when you are ready do begin. From my pictures above, I used a large pot where I made sure that at least 1" of water was remaining above the jars once they were submersed. The cans will displace water, so if it looks like less, it may actually be enough.

Step 8. Place the prepared jars into the water canner. Boil for 10 minutes. Begin counting when the water returns to a boil in the water canner. Remove the jars and let cool on a wire rack. If the counter is too cold it can crack the jars.

Step 9. Let the jars rest for a day (24 hours), check to see if all the lids seal. This means that they do not pop at all. If any of them pop, store them in the fridge and use up in a week. Label all jars with the contents of the jar and the date. Let them rest for a week, before using. They store best in a dark, and cooler place in your house or kitchen.

I highly recommend the Better Homes and Gardens Can It! canning book. The recipes are easy to follow, and the pictures themselves make this a fun purchase. With this book, I have made apricot vanilla jam, chipotle salsa, cucumber pickles, pickled jalapeños, and pickled banana peppers. All to favorable reviews.