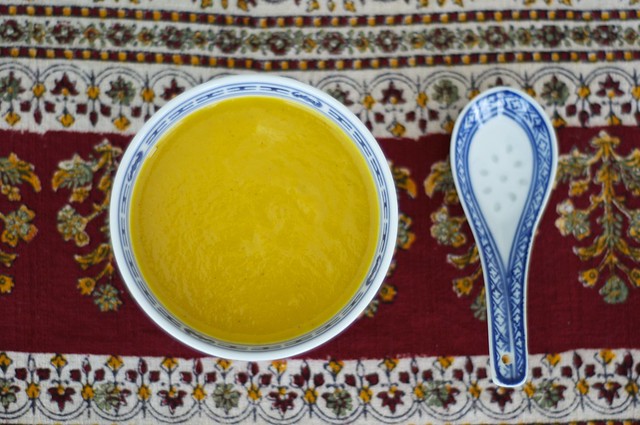

I've been making creamy soups about once a week. The idea is that they store really well, and make excellent light lunches with bread or some salad. Creamy is really a misnomer - I've hardly used any cream in the soups, but the end result after blending is always silky smooth. I don't promise that these will be fast to prepare, but the end result is really worth the effort.
Do you need any special tools? Making pureed, smooth, soups does require the use of some special tools, but if you are reading this, you are in luck because I am a lazy cook. For the creamy consistency of this soup, a blender or immersion blender is recommended. Since carrots don't have any fibrous materials, blending is super easy. I sometimes employ a pressure cooker, and would highly advocate purchasing one because of its use in speeding up everything else in your repertoire.
Soup is soup.
For this souper Saturday, you see, I could simply not help myself - I adapted Jack Bishop's Gingered Carrot Soup from his wonderful cooking through the seasons cookbook: A Year in a Vegetarian Kitchen. I adapted it by modifying it for preparation in a pressure cooker (PC). If you don't have a PC, stovetop directions follow the "Directions" below.
Creamy carrot ginger soup
Adapted from Jack Bishop's A Year in a Vegetarian Kitchen (circa 2004)
Yield: 4 generous 1 and 1/2 cup servings, maybe slightly more
Ingredients:
1 tbsp olive oil
1 leek, thinly sliced. Cut up only the white and very light green parts
1 tablespoon ginger, grated over a microplane, or very finely minced
1/2 tsp ground ginger
1/4 cup or more dry white wine or vegetable broth
1 and 1/4 pounds carrots, washed, peeled and cut into large chunks
2 cups vegetable broth
1-2 cups milk (can sub soy or almond)
Directions:
Step 1: Heat up 1 tbsp of olive oil in the pressure cooker fry pan over medium heat. Once hot, add in the leek and saute for a few minutes. Add in the fresh ginger and ground ginger, stir, and then add in the white wine until it reduces slightly. Let it bubble up nicely, and once most of the wine is cooked off, scrape any stuck on brown bits from the bottom of the pan.
Step 2: Add in the carrots to the pan. Pour 1 cup of vegetable broth in and note the liquid capacity. If under, go ahead and add the remaining broth ensuring that you don't go over the max liquid capacity line. You will add the remainder of the broth after cooking while blending the soup. Close the PC and bring to high pressure (second red ring) and cook 4 minutes. Use the natural release method. This method is simply moving the PC off the heat and letting the pressure escape naturally.
Step 3: Once the PC is ready (no more pressure is indicated), carefully scoop the cooked carrots and leeks, batch by batch, into the blender. You may want to have a large mixing bowl handy to store the "blended" from the "needs to be blended." Add broth and the liquid from the PC into the blender. Do not fill the blender more than half way full. This is also where I learned an important tip from Chef Bishop. Don't fill the blender along with its contents (liquids) more than half way full. Put the blender lid on, and slightly vent the removal cap (the removal cap is usually in the center of the blender lid). Put a dish towel over the blender lid, including the vented lid, protecting your hand and any surfaces from any accidental splatters. Blend until silky smooth, about 3-4 minutes on high blend setting.
Step 4: Once everything is blended, gradually add milk until you get the creamy consistency you desire. Taste for salt, and heat up and serve immediately. This soup will get slightly spicier with rest. It is so good!
Regular/Stovetop:
If you don't have a PC, you may follow Step 1 by omitting the PC, but using a large pot. During Step 2, add the carrots to the pot, along with all of the (2 cups worth) vegetable broth. Simmer everything for about 20-25 minutes until everything is soft. Allow the liquid to cool off before blending (let it sit there for about 20 minutes) and then proceed with the recipe from Step 3.

No comments:
Post a Comment